Wireless switch for multiple LED strips
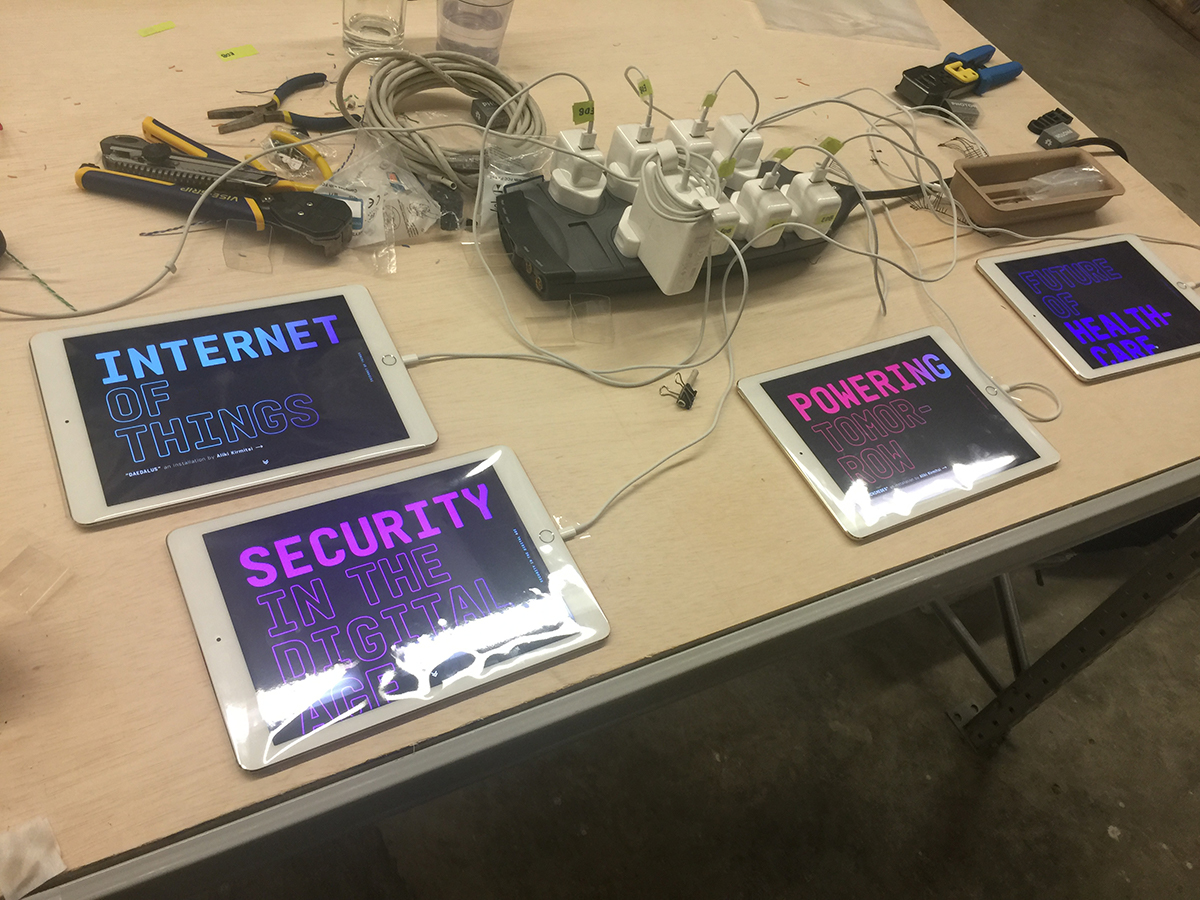
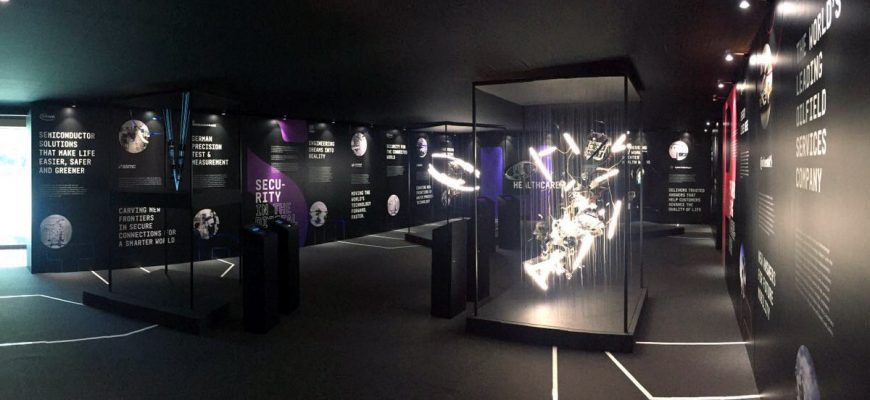
As part of the Engine Room campaign, TSLA Singapore also crafted an engineering pavilion for career fairs. It comprises four sections: Internet of Things, Security in the Digital Age, Future of Healthcare, and Powering Tomorrow. Each part has an artwork and some wall panels with information about related companies. My involvement in this project is mostly around the interactive info panels. When someone taps a logo on these info panels, it acts as a wireless switch and turns on the LED strip on the floor leading to the respective wall panel. While it might seem simple, I did learn a few things along the process.
The final setup
As the info panel should be interactive, we decide to use—you might already guessed—iPad. As info panels, there are two iPad devices on each section. And both needs to “control” a set of three to five LED strips on the floor. You could see a video of how this works in the final setup, below:
With both action (tap on the iPad) and expected result (LED strip temporarily light up) known, it’s time to add the process (and some other components) in between to make it happen.
Building the wireless switch
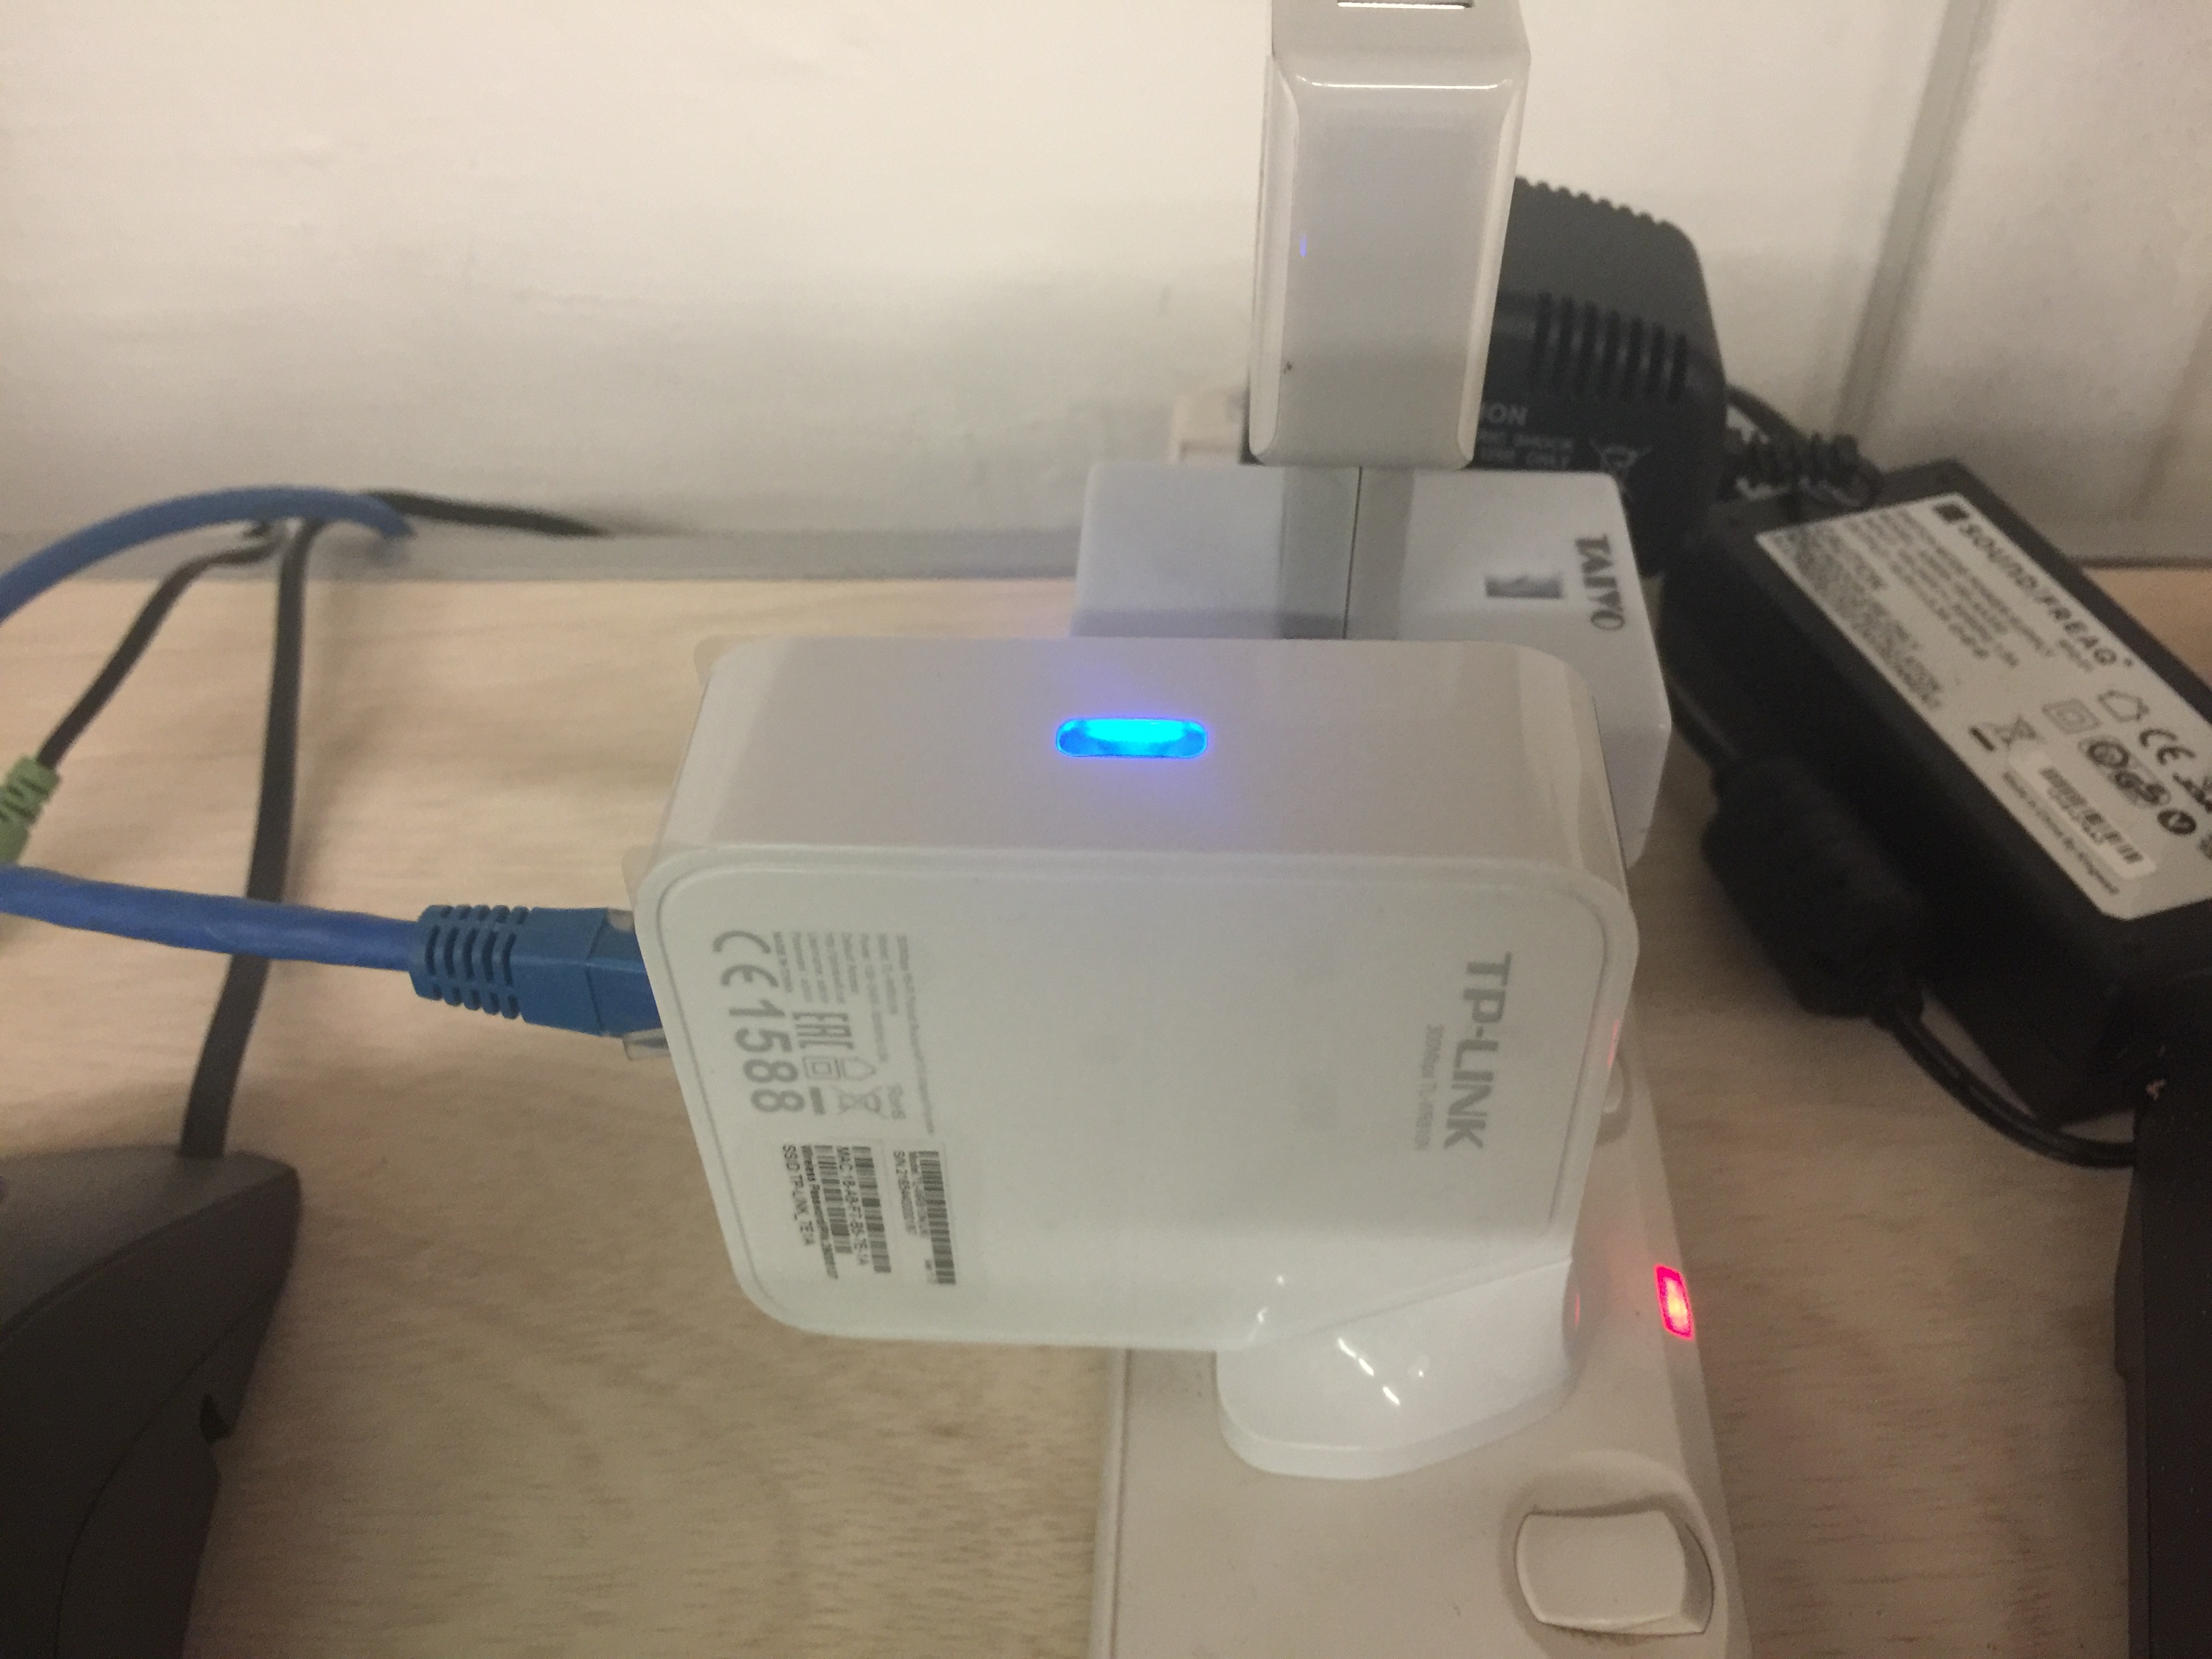
The project timeline was tight, and it is not a mass production. So, building something that connected directly to the iPad (through the Lightning connector) obviously out of the question. Thus, WiFi-enabled microcontroller sounds fit for this situation.
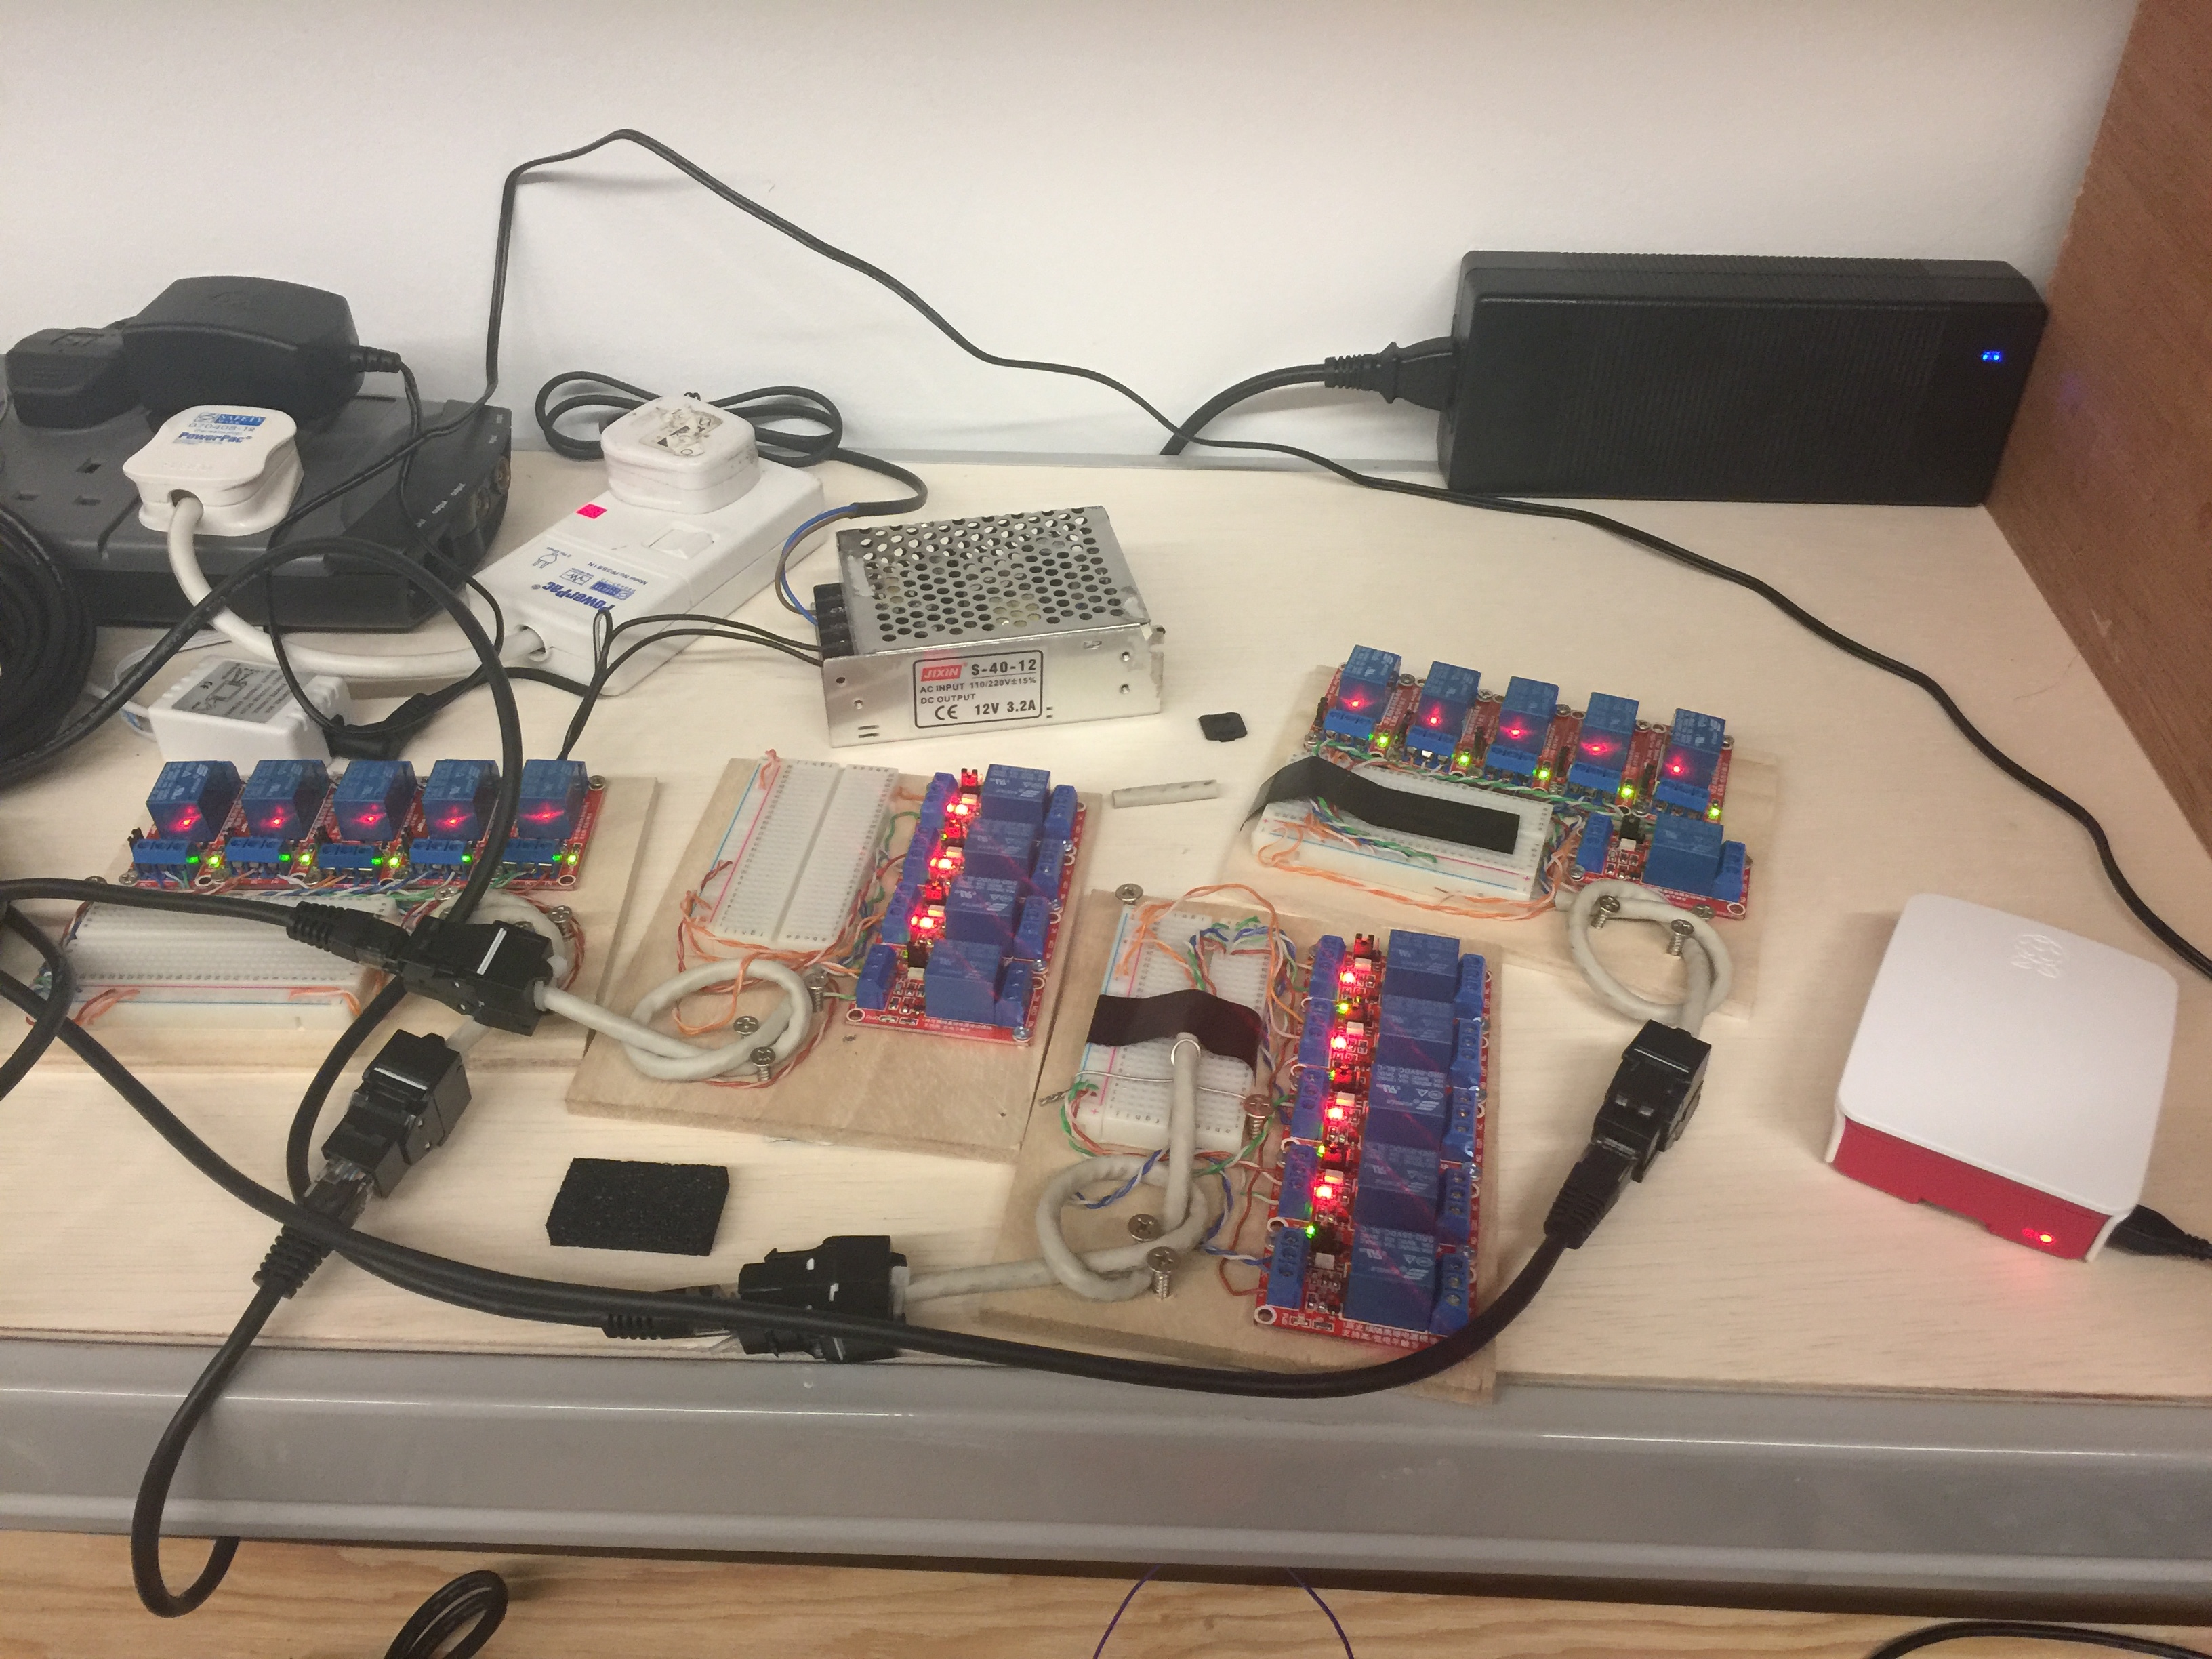
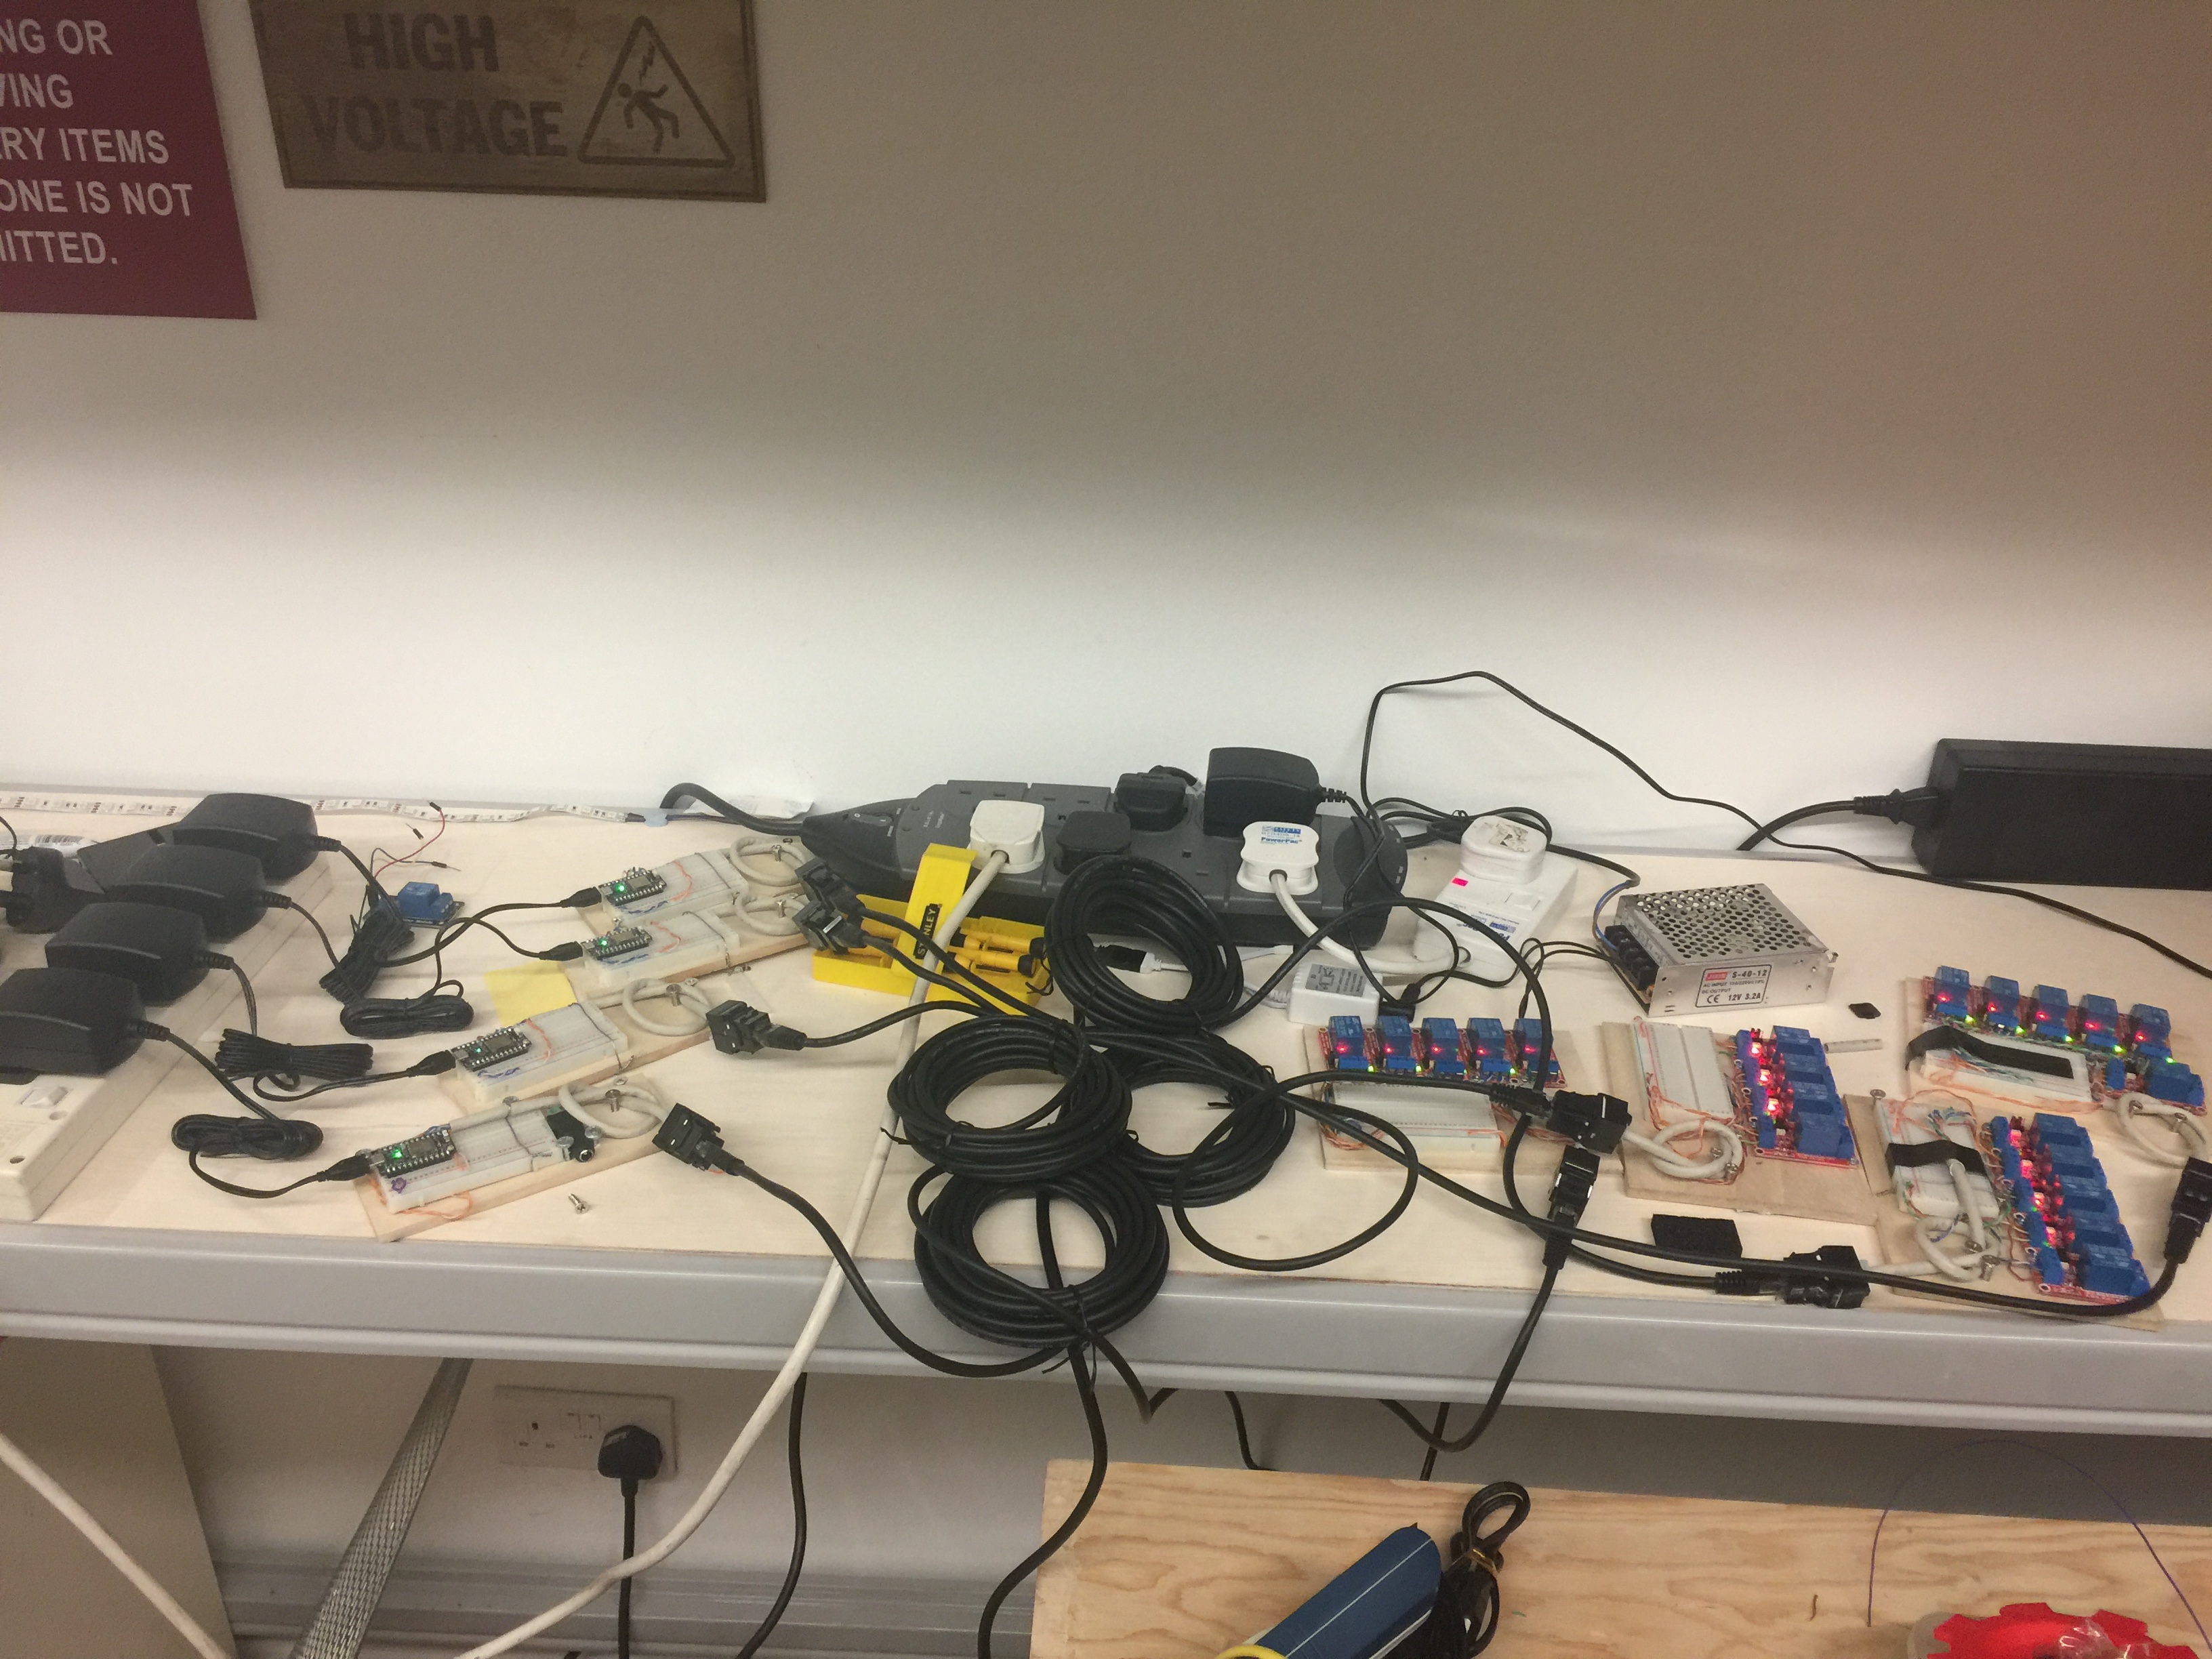
At the workshop, we have an iPad mini and some Particle Photon microcontrollers lying around. So, I set them to connect to the office WiFi, hook the Photon up to two relay modules, and here is how the wireless switch prototype looks like:
The iPad loads a simple web page served by the Photon. And when a user taps one of those buttons, it triggers an HTTP Post to the Photon (again). Afterward, upon receiving an HTTP Post request, the Photon will switch the respective relay on (based on the Post variable). At the same time, it also set an internal timer to turn the relay off after 10 seconds. And as all communication between devices happens over WiFi, we got the expected wireless switch functionality!
Behind the scene
After this prototype, it evolves to a more complex setup. Eventually, the system gets a dedicated WiFi router. And as the interactive info panel content are not so simple, we add a Raspberry Pi 3 Model B (it comes with built-in Wi-Fi) to host the web pages.